How to Set Up a KT Board Wedding Arch?
Complete Guide to Installation & Styling
KT board arches serve as the visual focal point and ceremonial centerpiece at wedding venues. With their lightweight and easily moldable design, they swiftly create a romantic and dreamlike welcoming atmosphere while defining the exclusive wedding space. Through customized floral arrangements, text, and color schemes, they convey the couple's personality and love theme, becoming an iconic backdrop for guests to capture memorable photos. This sets the tone for the wedding with warmth and a sense of ceremony.
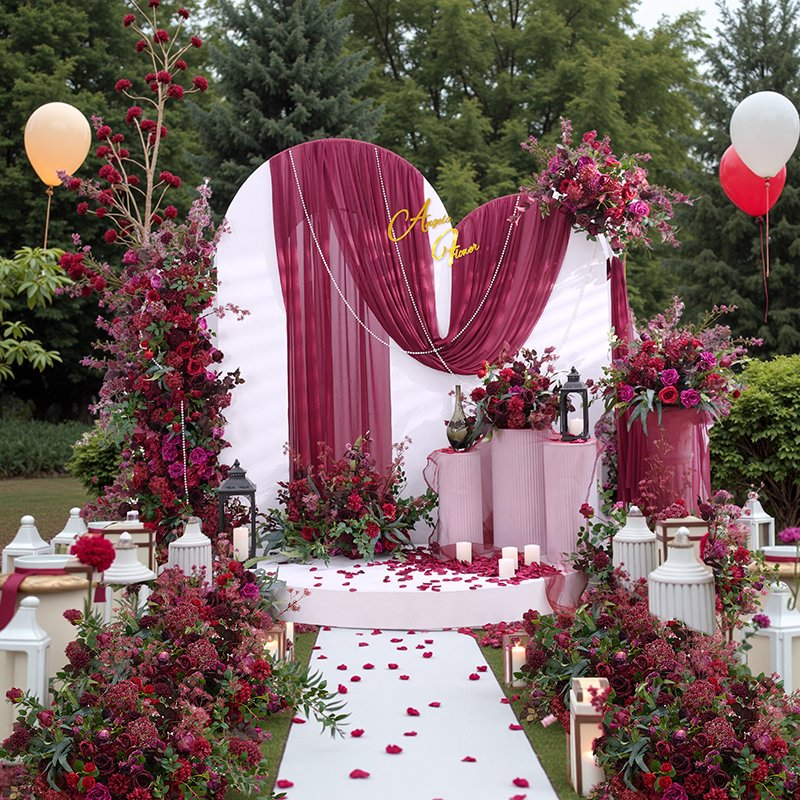
This wedding backdrop, combining both visual appeal and practicality, is surprisingly easy to assemble. Follow this installation guide to set it up effortlessly.
First, the KT board backdrop arch. As the name suggests, its core component naturally includes the KT backdrop board. If you wish to retain the KT backdrop board, consider the following three pairing options:
 1.Procure wood locally and build arch supports yourself to flexibly adapt to scene dimensions while precisely controlling costs;

2.Purchase ready-made wooden arch backdrops locally for quick assembly out of the box, eliminating the time cost of handmade construction;
3.Pair wrought-iron stands with floral arrangements in front of the backdrop for stable structure, easy installation, and compatibility with various wedding/party decor styles.

However, it should be noted that KT board backdrops are generally bulky and heavy, making transportation inconvenient. Therefore, an alternative option is to omit the KT backdrop entirely.
Instead, use an iron frame with a fabric cover to support floral arrangements,
Or simply use the iron frame alone to hold the flowers.

This approach creates a simpler, more streamlined design that is lighter in weight, making it easier to move and transport.
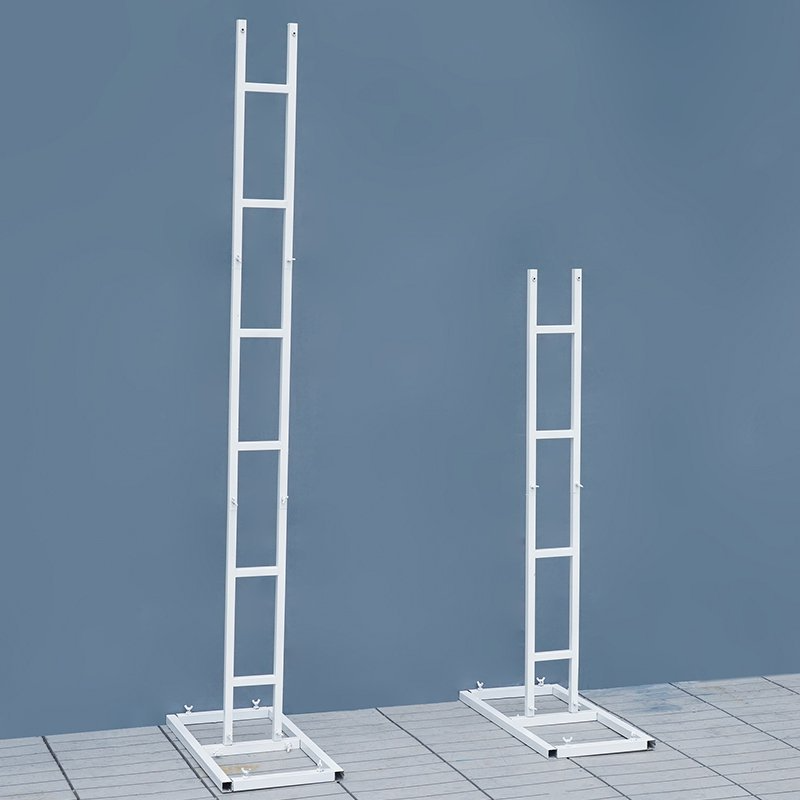
With the backdrop arch in place, next we'll install the frame and flowers. Take the following picture frame as an example .
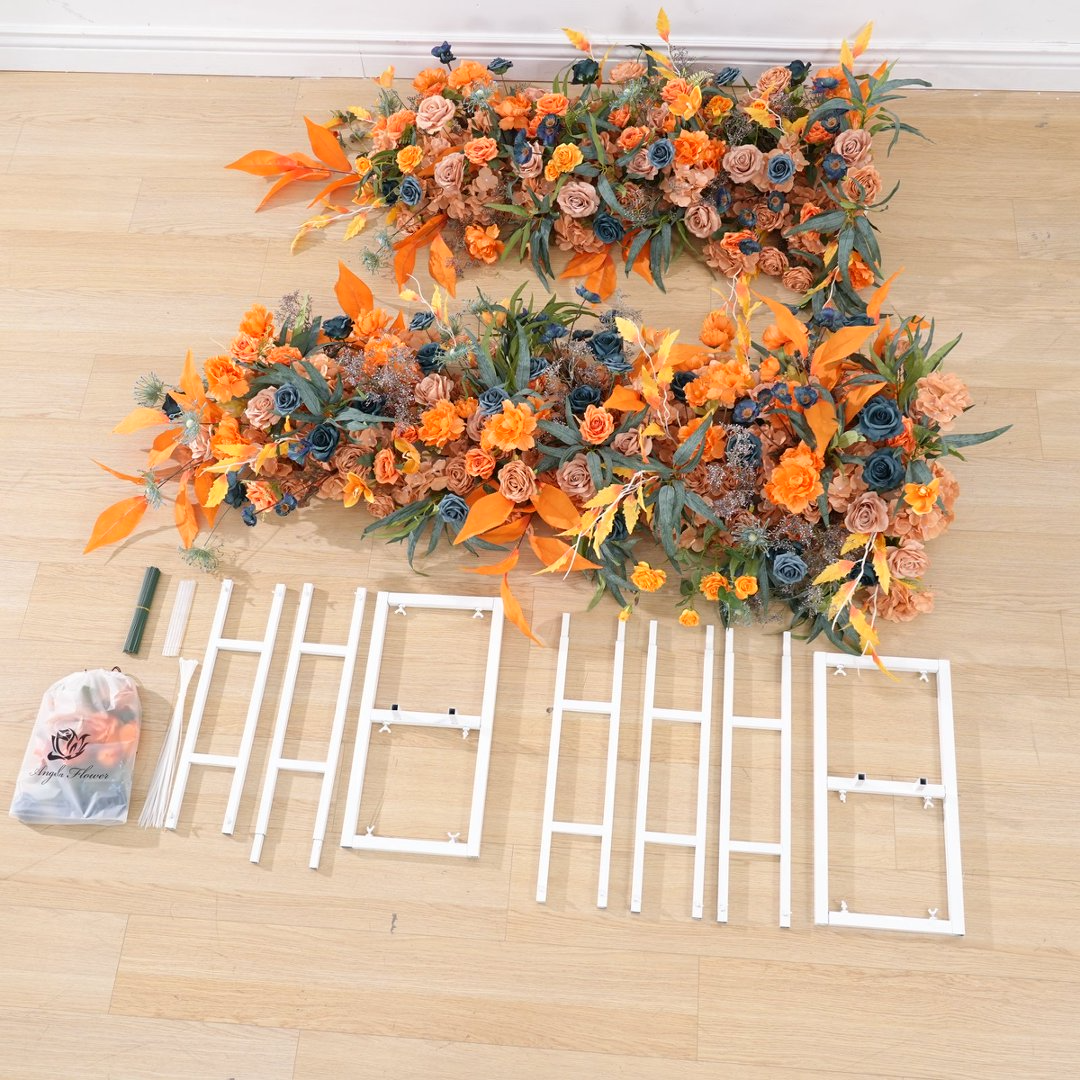
First things first: Here's what you'll find inside
Upon opening your package, check for:
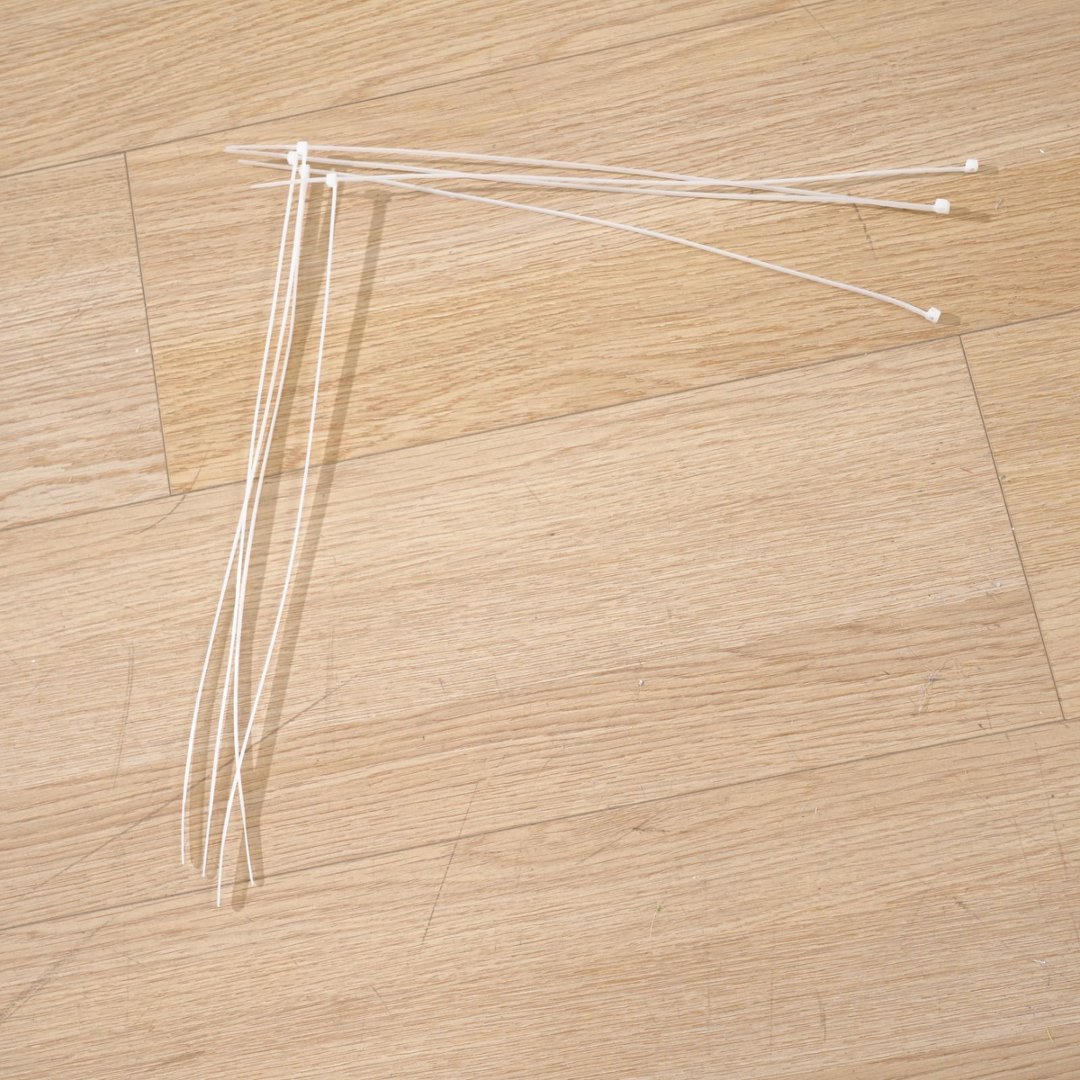
- White support frame (includes main frame + small bracket)
- Fastening clips and hooks - Cable ties (short ones may need to be joined to make longer ones)
- Floral decoration kit (pre-arranged flowers for ultimate convenience)
Installation Steps (Including Pitfall Avoidance Guide)
Step 1: Assemble the Support Frame (Method 1)
1. First lay out all the bracket parts you received, making sure not to miss any small accessories; 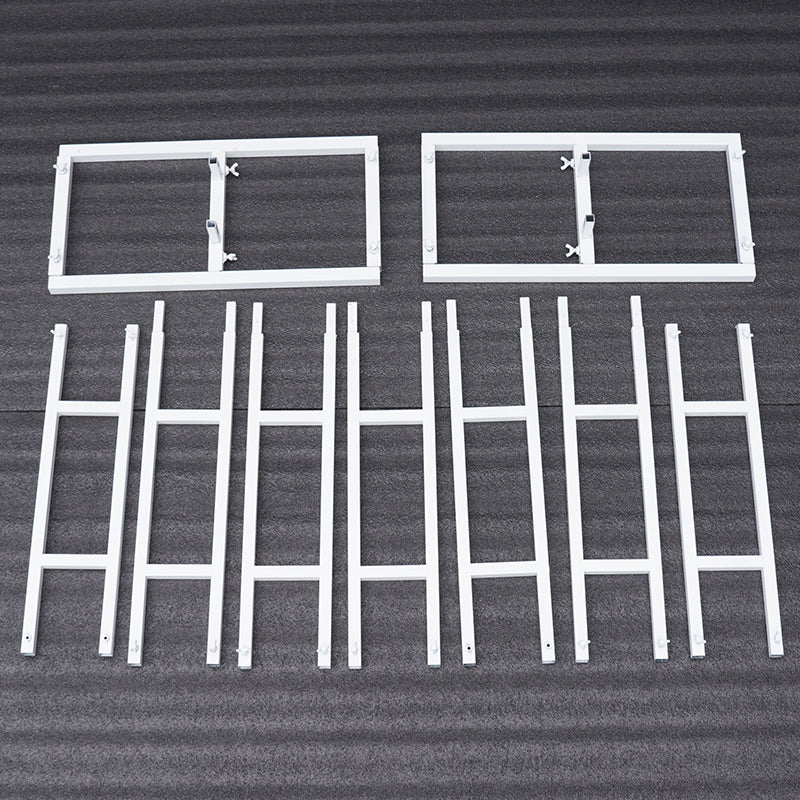
2. Assemble the main bracket clips as shown . Ensure the clips are fully engaged to prevent wobbling;
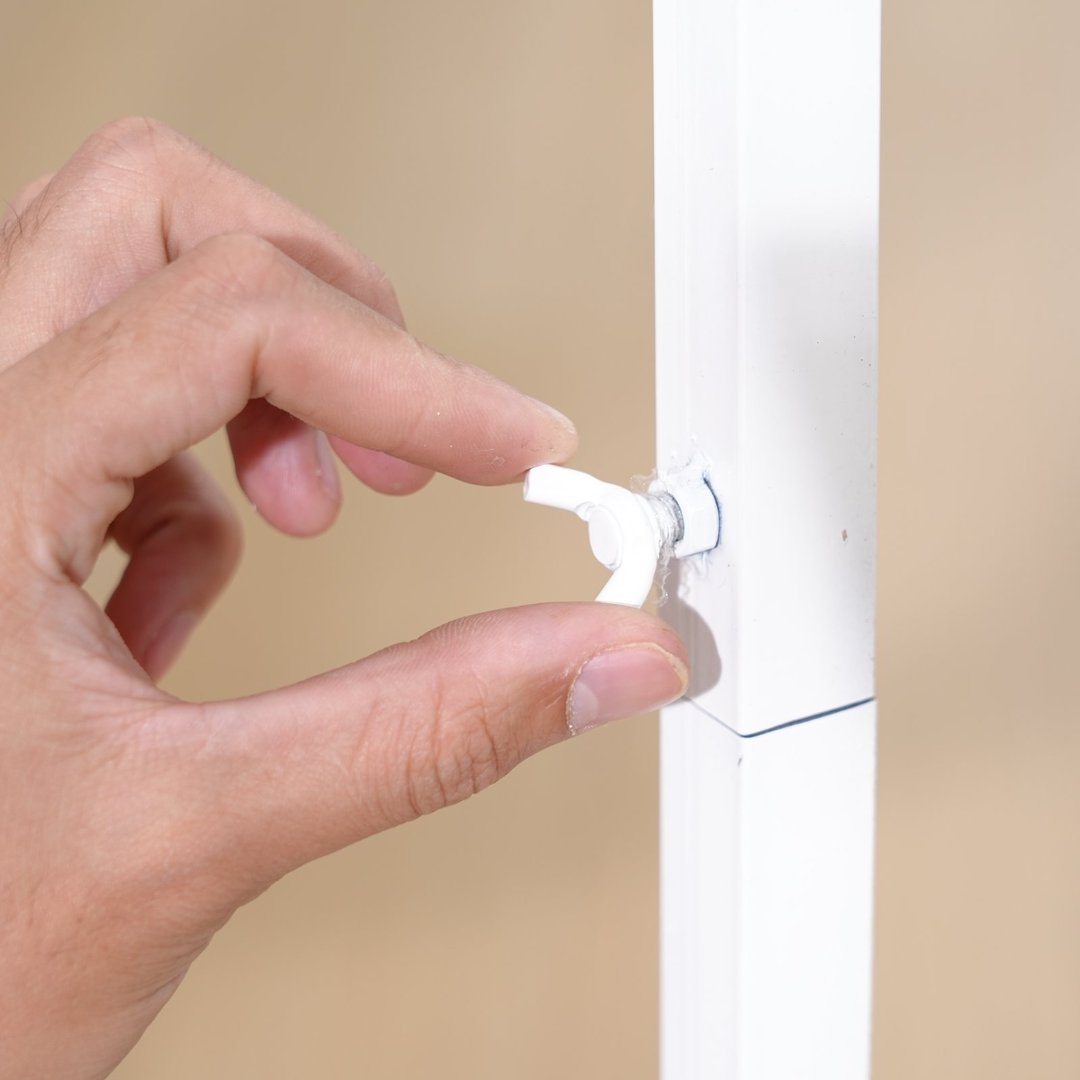
3. Insert the bracket into the corresponding slot, then attach the small bracket on the opposite side. The frame will now be stable.

Step 2: Floral Arrangement + Securing (Method 2)
1. Join short zip ties together to form longer ones for easier floral arrangement securing;
2. Following the floral layout , secure floral materials to the frame with zip ties (Key point: Position the main flowers first, then add foliage to prevent disarray);
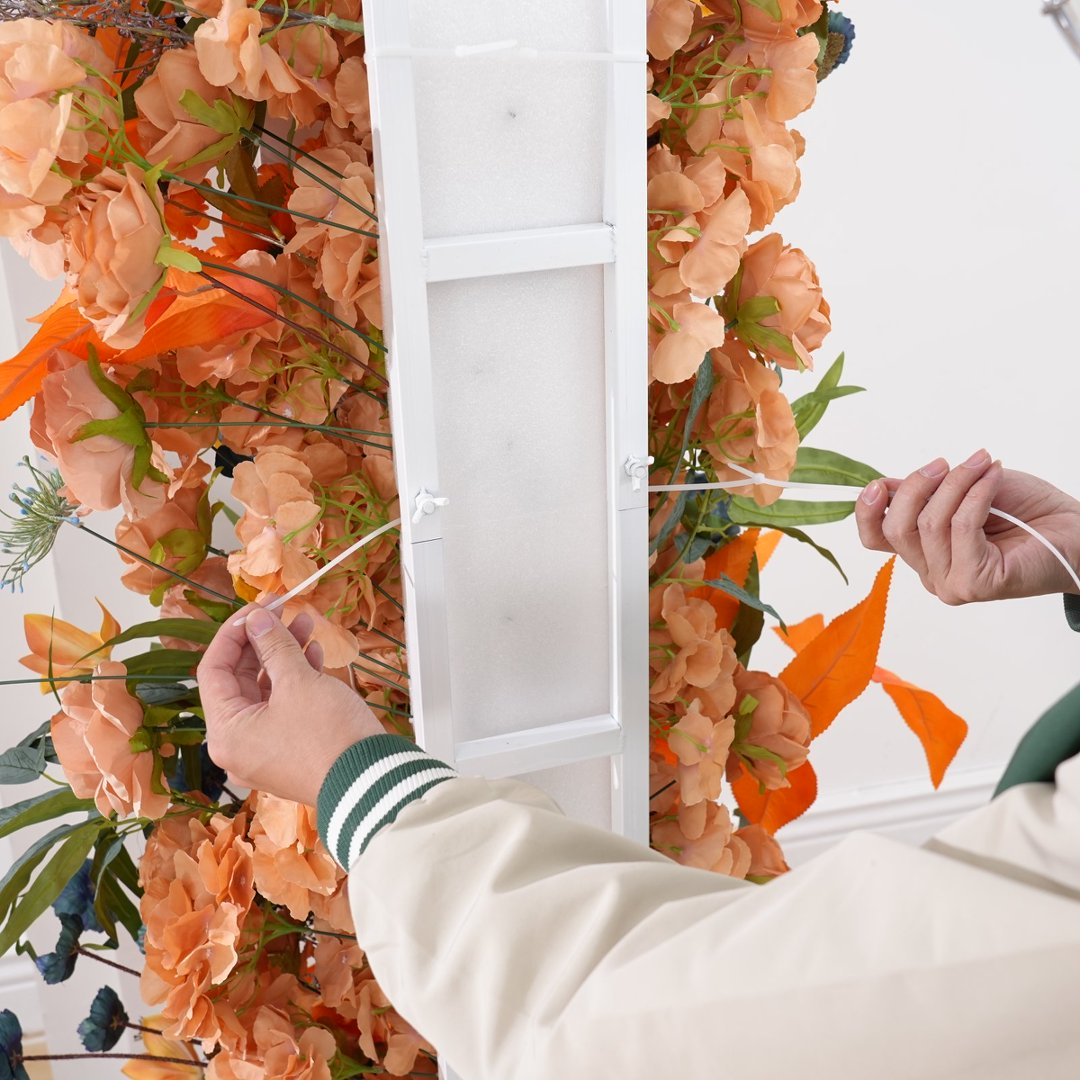
3. If no clips are available, hang directly on the stand hooks for stabilization ;

4. Fill gaps with spare flowers from the gift bag, then adjust overall density for balance.

For more details, please refer to the image or video below.

Real-Life Installation Examples: How to Style for Different Occasions?
Case 1: Wedding Reception Area (Warm Orange Color Scheme)
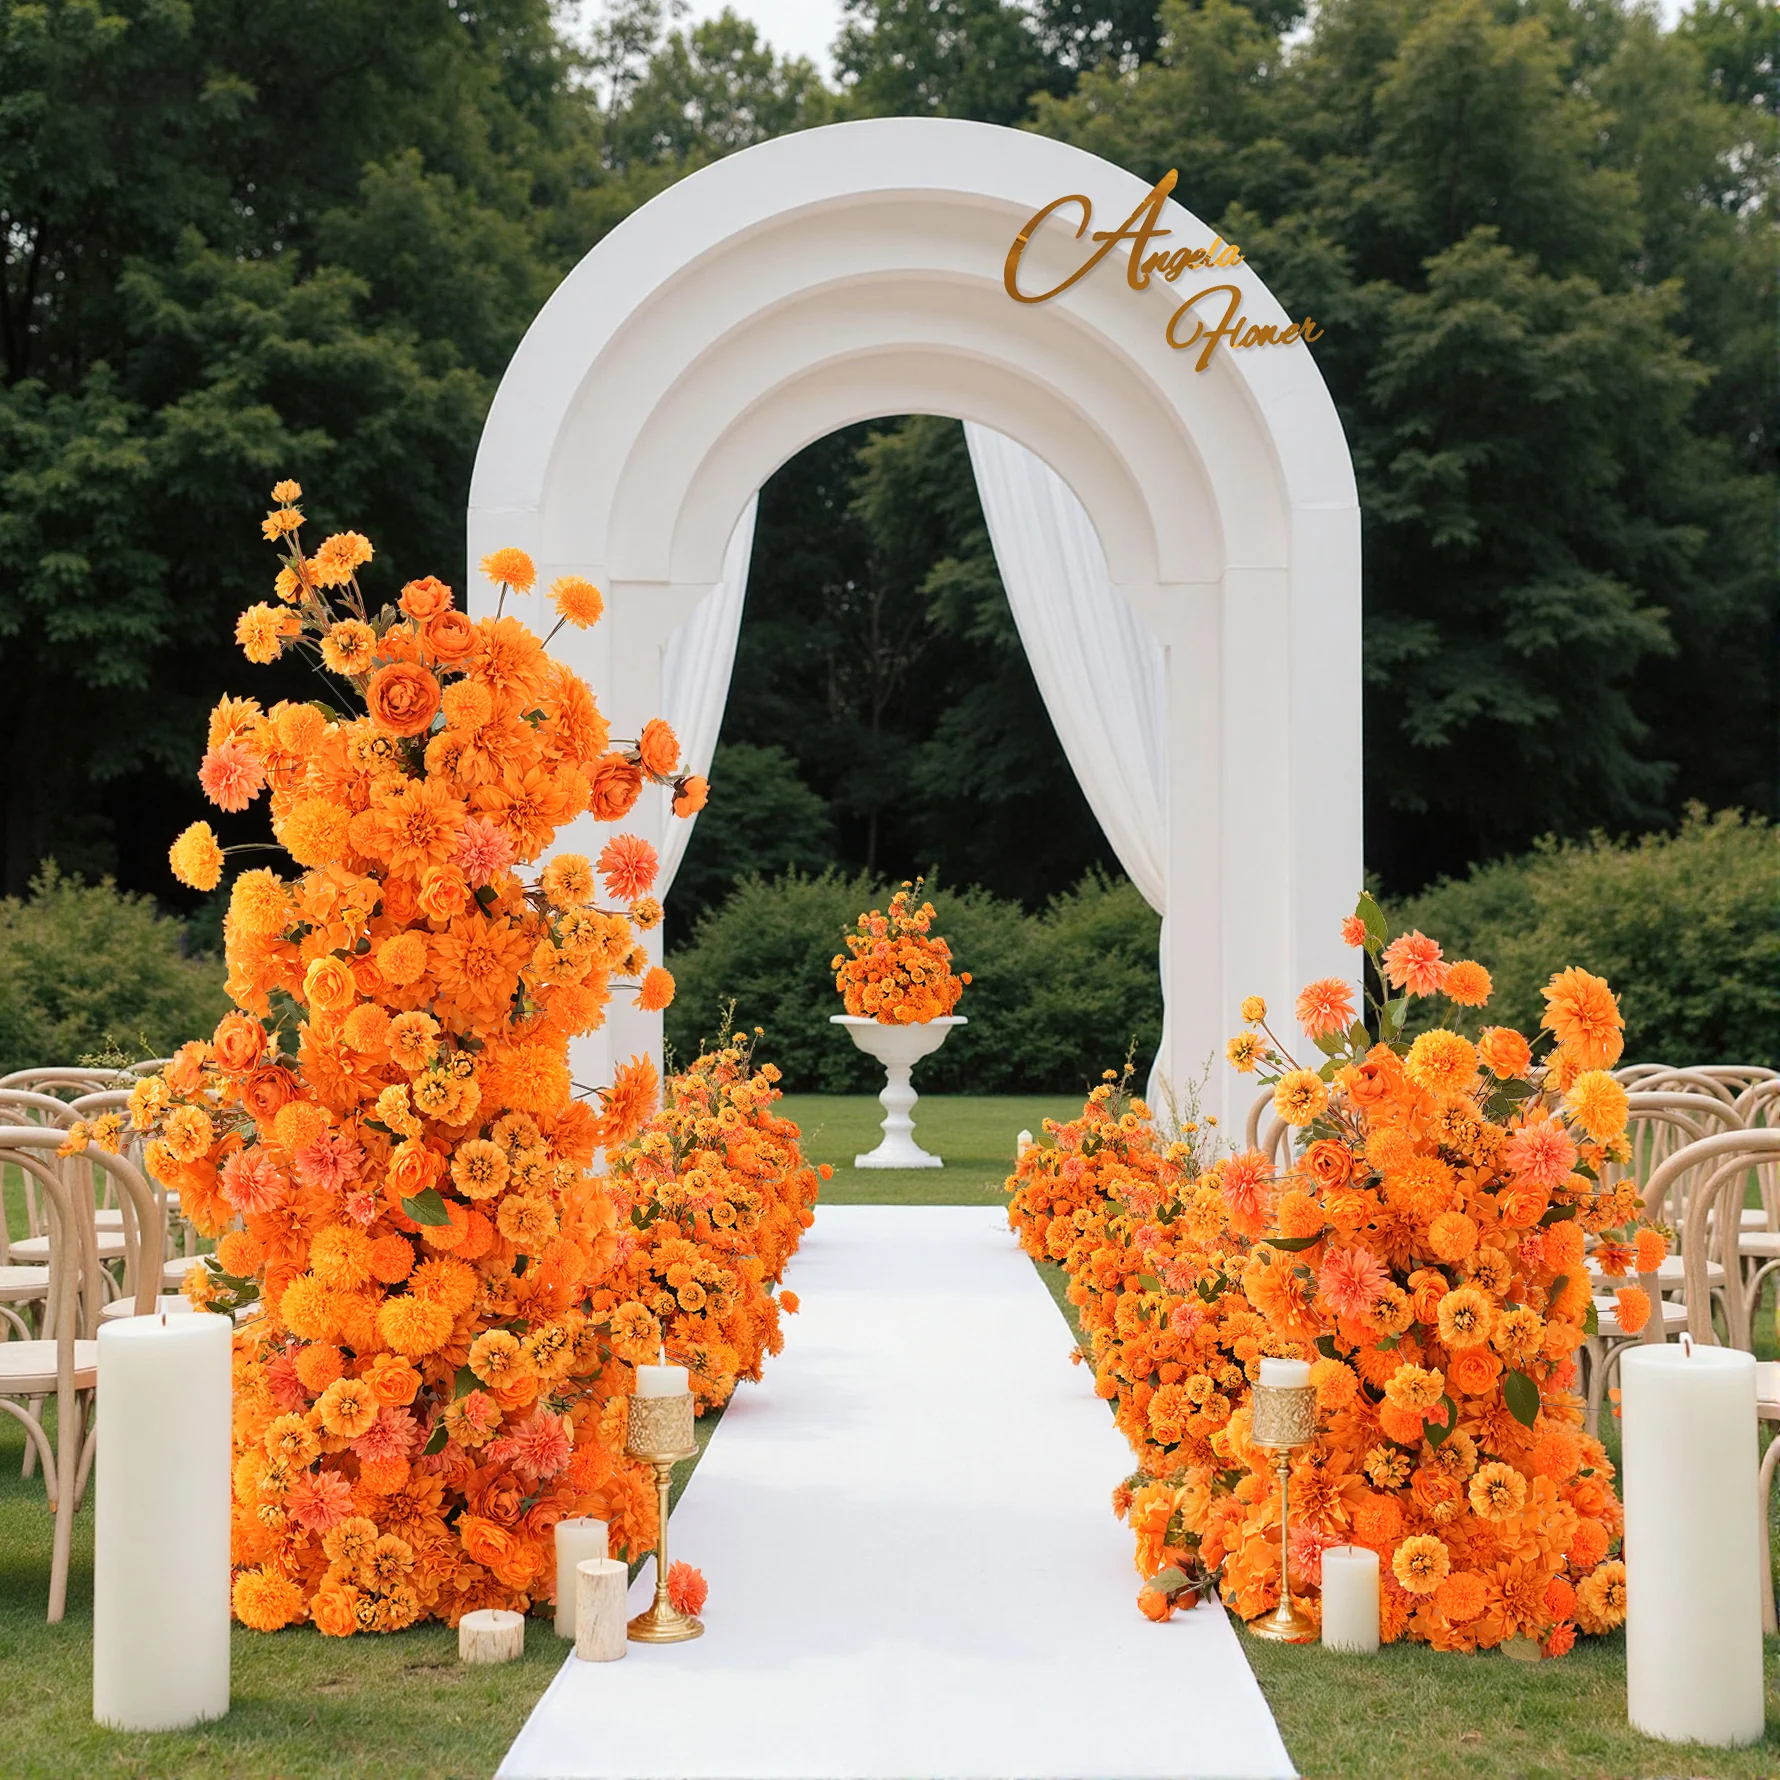
- Installation Details: We selected warm orange floral materials from the tutorial, paired with white gauze curtains as the backdrop. The base of the arch was covered with a carpet in the same color scheme to conceal the support structure.
- Effect: Guests were instantly drawn to the warm-toned archway upon entering. It achieved a 100% photo-worthy rate and even prompted several bridesmaids to request the link!
Case 2: Baby's First Birthday Party (Macaron Pink)

- Installation Adjustments: Replaced floral arrangements with macaron pink and white blooms, wrapped the stand's exterior with a pink ribbon to soften the metallic look;
- Tip: For compact party spaces, use the tutorial's “hook-and-fix method” (Fig. 11) for space-saving stability!
Case 3: Beachside Coffee Shop Display (Vintage Brown)

-Installation Tip: Secure vintage-brown floral arrangements to white arched foam board with zip ties, scatter seashells and starfish around them, and pair with beach scenery to create a soothing photo spot. This setup boosts visibility while adding romantic ambiance, perfect for hosting casual gatherings and expanding consumer experiences.
-Tip: Reinforce foam board with waterproof tape for wind resistance + use invisible adhesive pads to secure floral arrangements. Choose UV-resistant foam board (or spray with sunscreen) to prevent fading. Weekly brush fine sand onto floral materials and wipe foam board during rainy weather to prevent warping.
Final result: The ambiance is instantly elevated! Once installed, it creates a lush and sophisticated archway! Whether it's a wedding reception area, birthday party backdrop, or store display, it instantly becomes the visual centerpiece~ Tested and proven—the whole setup takes just 20 minutes, way easier than you'd think!