Create Your Dream Flower Wall
how to create flower wall
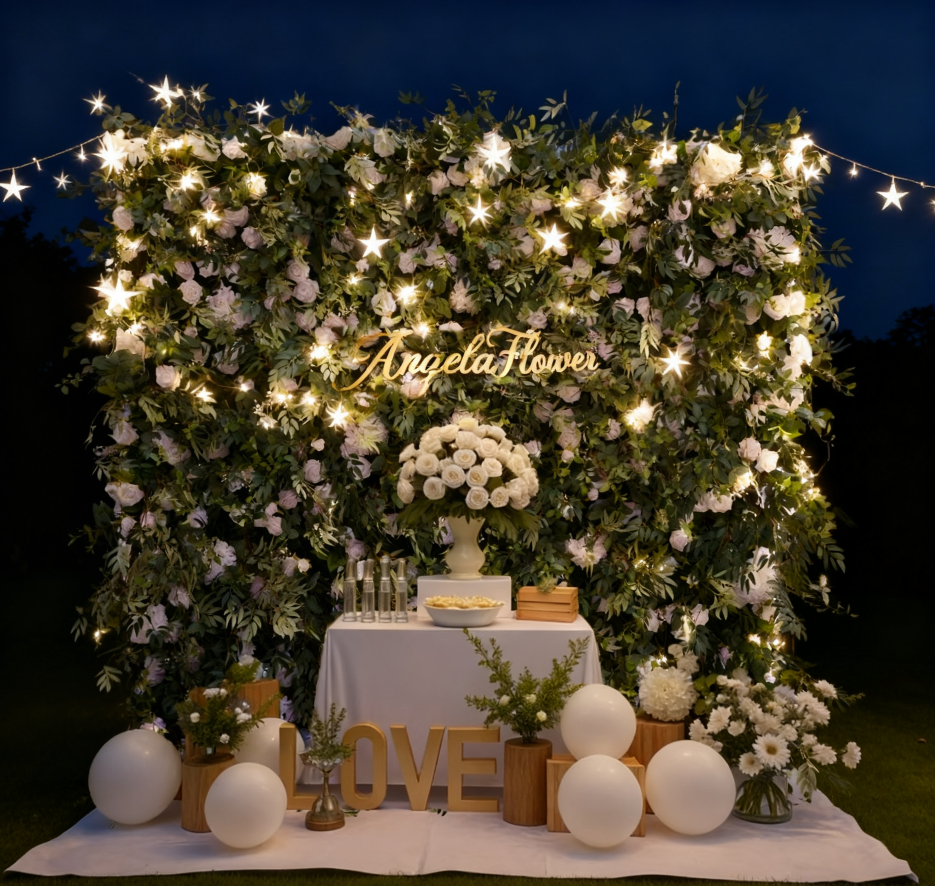
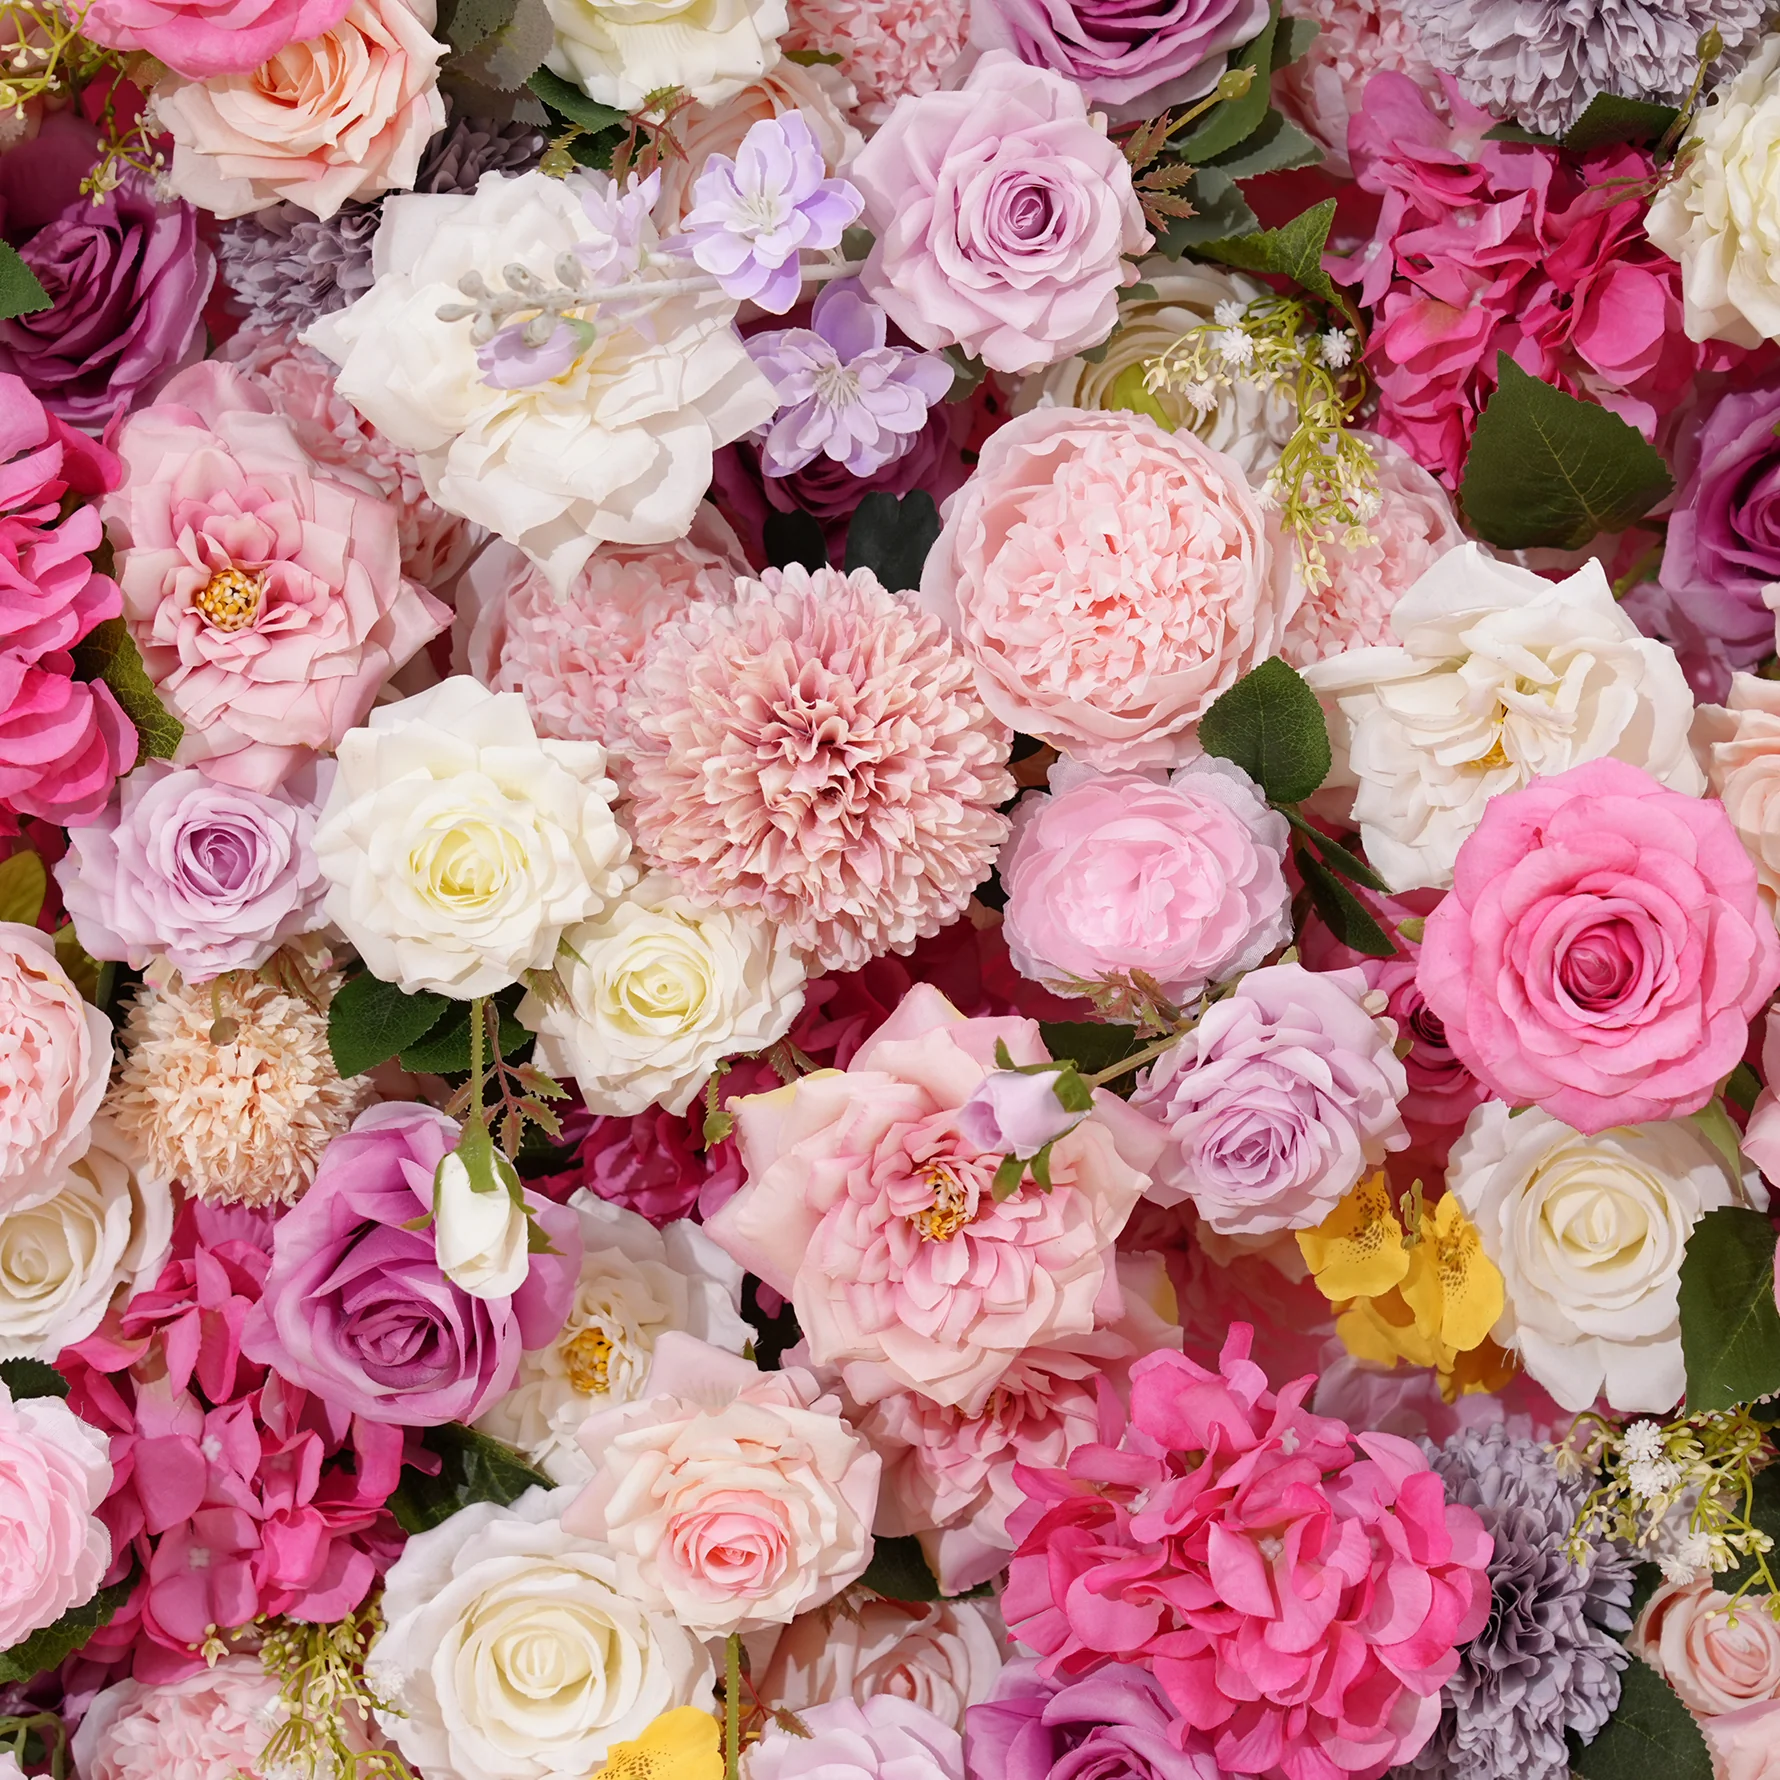
A vibrant floral wall is the magic that instantly ignites a space's ambiance. Whether for weddings, parties, or home decor, it becomes an absolute visual focal point. This guide will walk you through the entire process of creating a floral wall and delve into three core techniques to elevate your creation from “pretty” to “stunning.”
 Step 1: Planning and Design—Laying the Foundation for Success
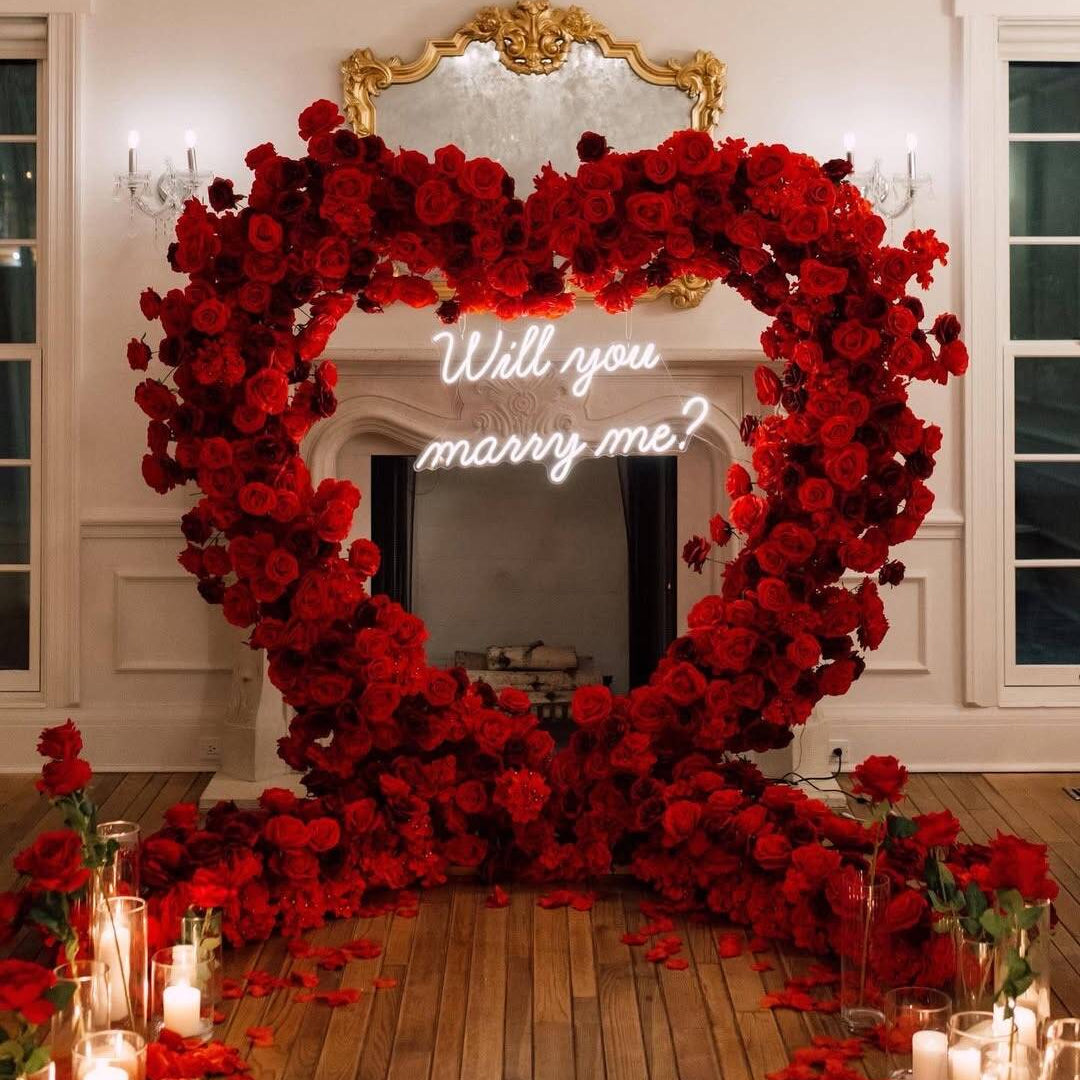
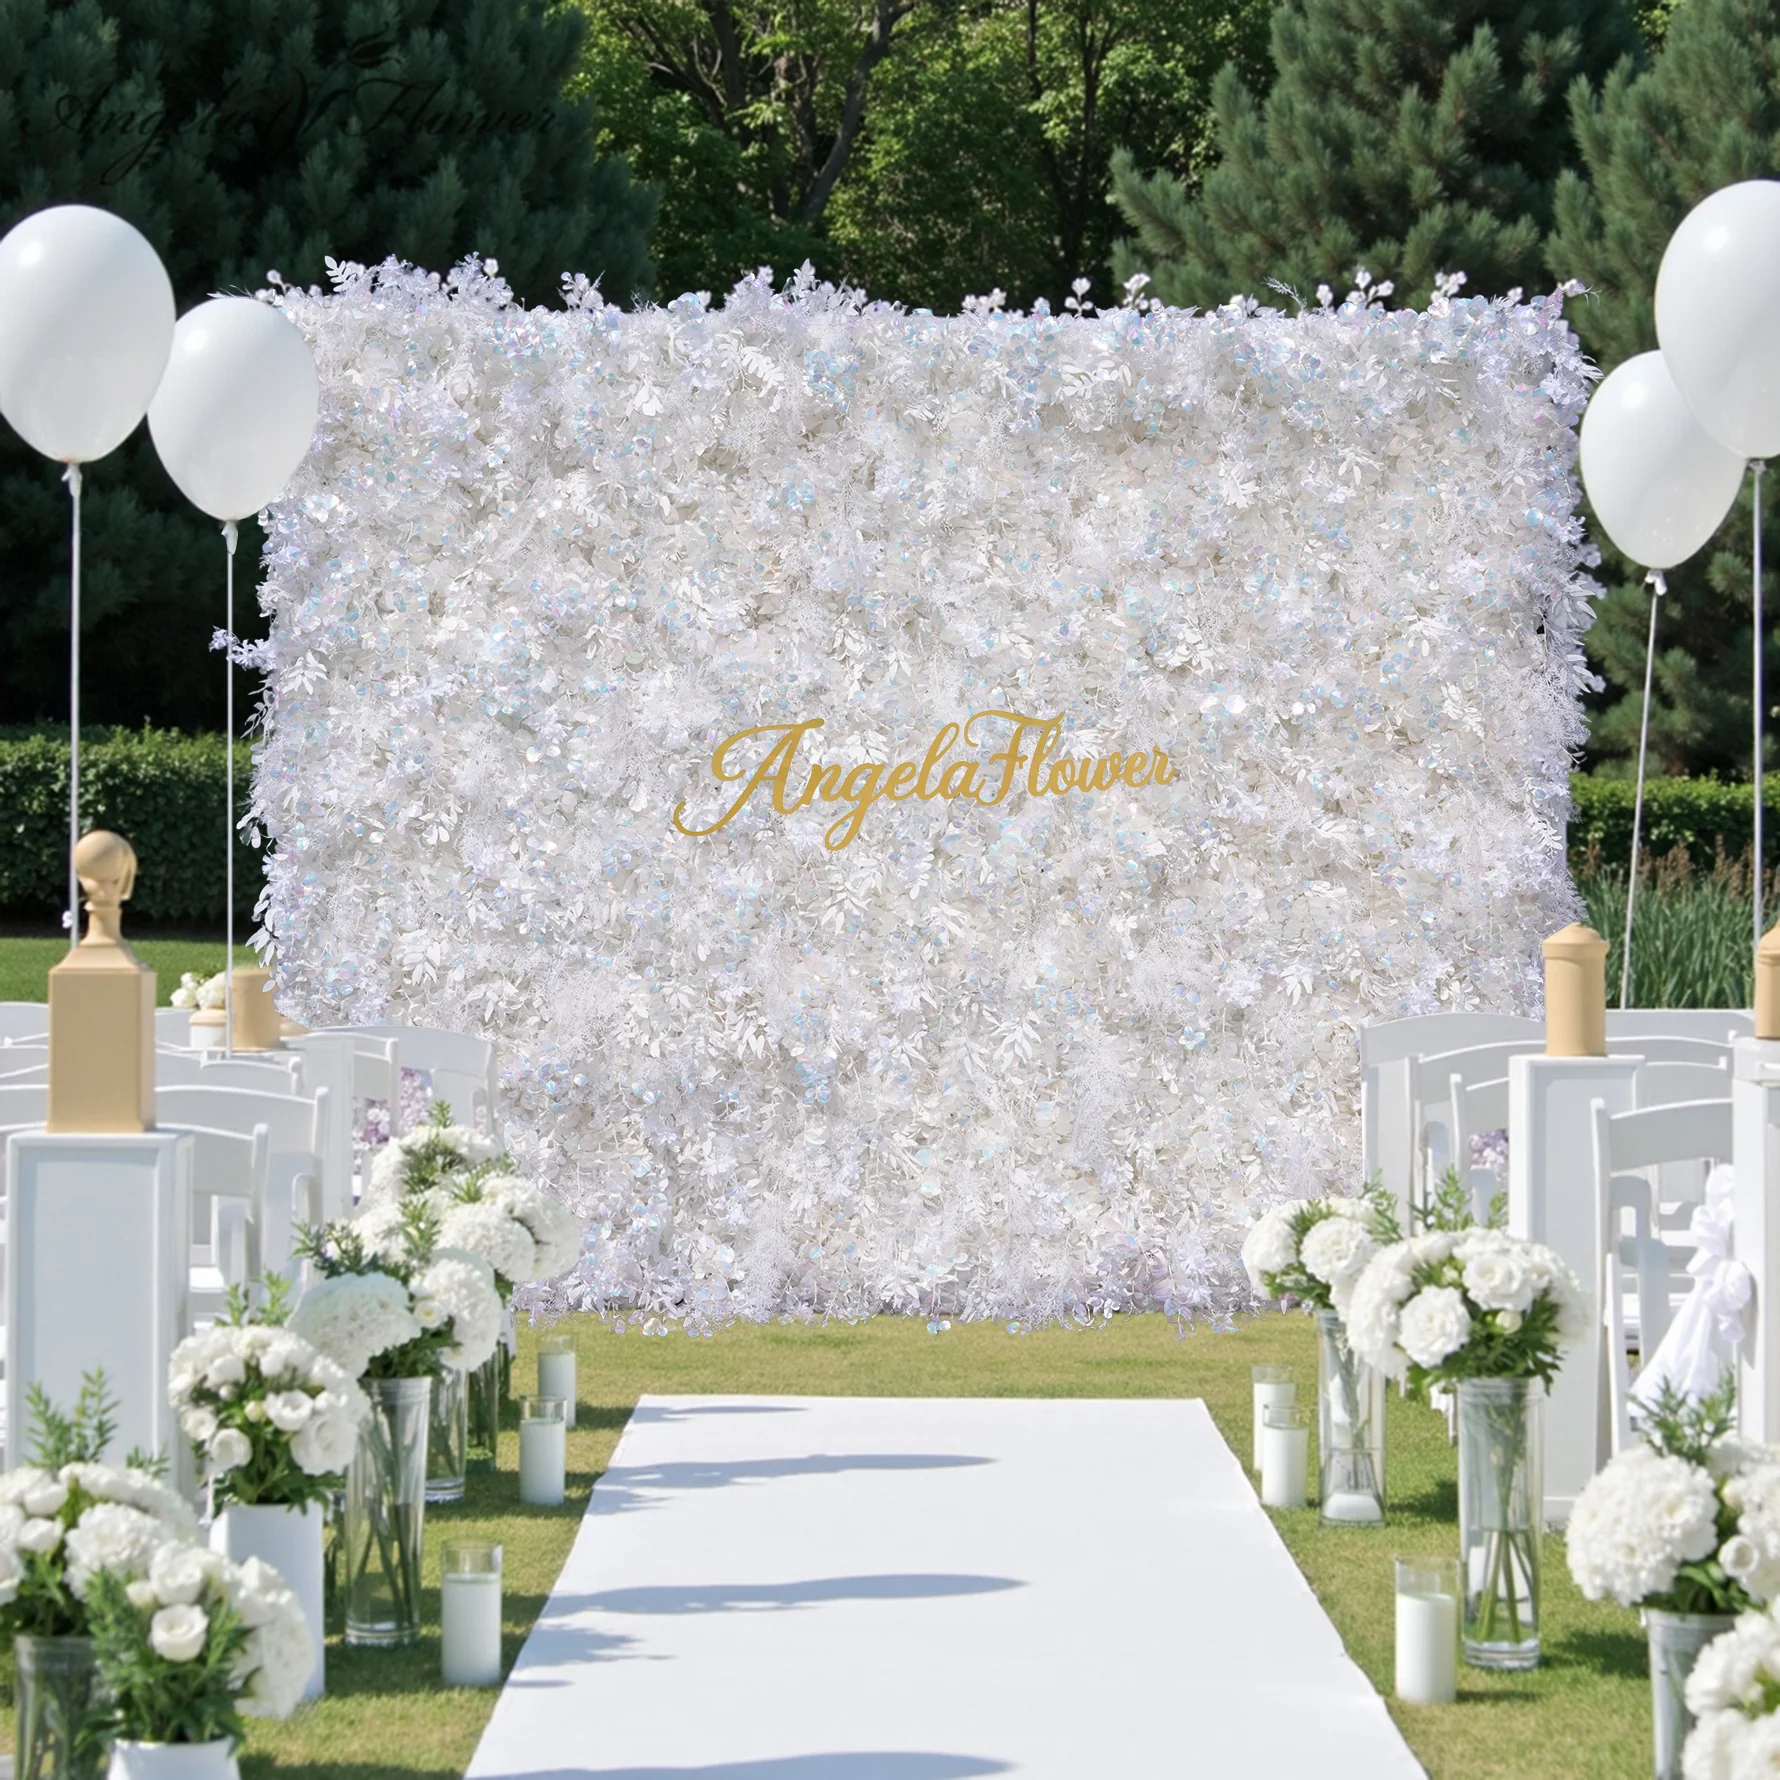
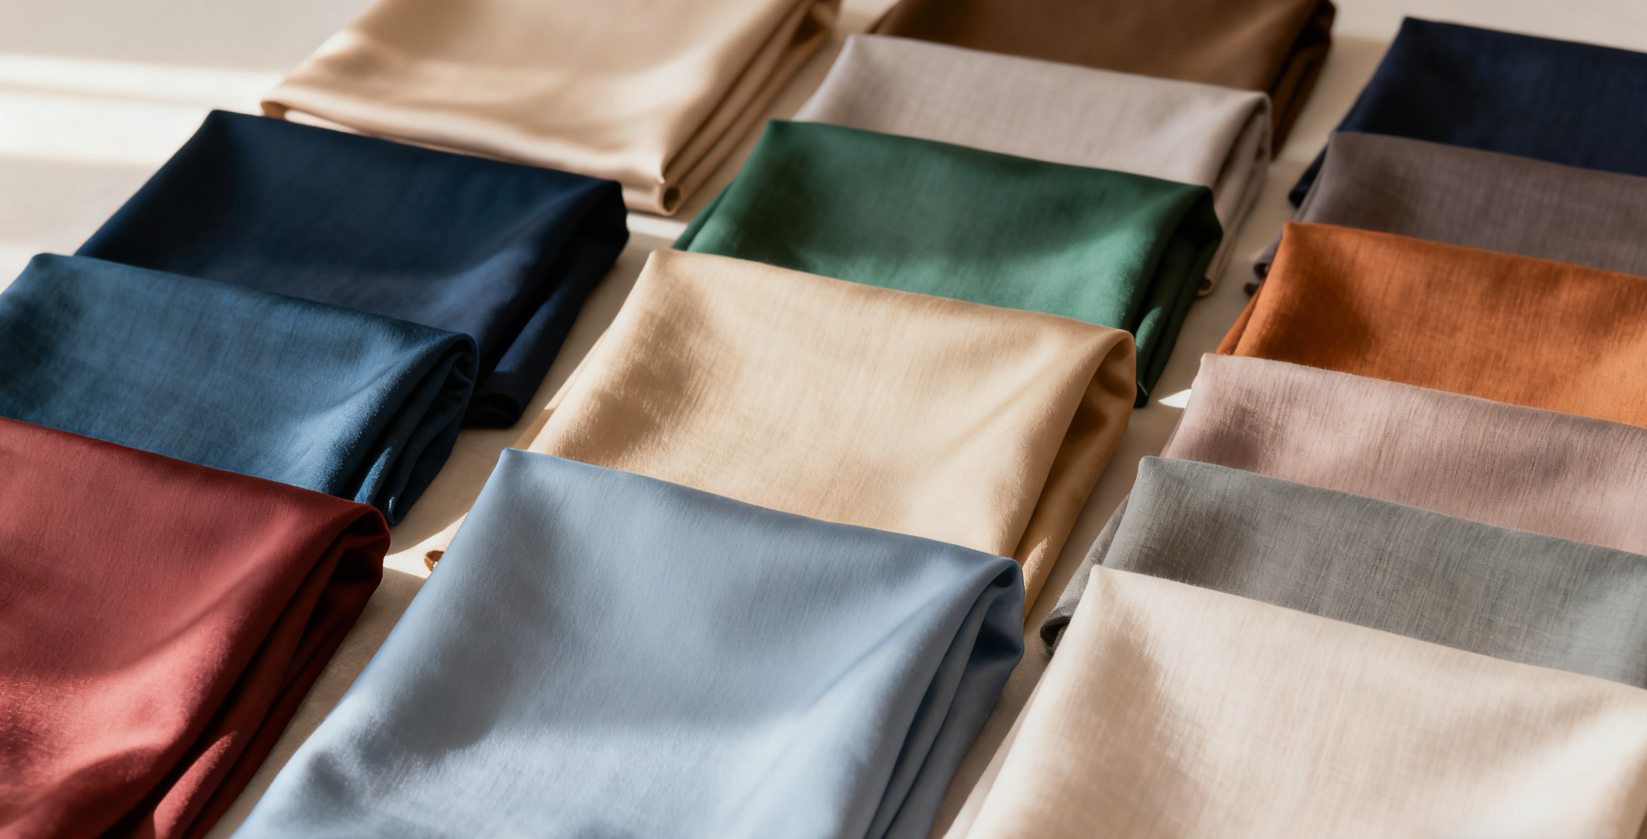
Define Theme and Color Scheme: Establish the floral wall's thematic style—such as romantic, rustic, or minimalist—and select complementary color palettes.
Step 2: Creating the Flower Wall-how to make a floral arrangement
The base panel serves as the carrier for floral materials, and its selection directly impacts the wall's construction difficulty, visual impact, and longevity. Common base materials include fabric-backed panels and plastic mesh panels. Below are the respective construction methods for each type:
Fabric Base Floral Wall Construction
Common Fabrics: Felt, canvas, velvet, etc. These fabrics are thick and resistant to deformation, making them easy to sew and adhere.
Color Selection: Choose fabric colors based on the floral materials and overall style. Typically, select colors similar to or complementary with the floral hues to achieve a harmonious and unified effect.
Determining Dimensions: Cut the fabric to the required wall dimensions. Allow extra fabric at the edges for secure attachment.
Floral Arrangement Design:
Composition: Before securing flowers in place, sketch your layout on the fabric base. Refer to floral design diagrams or create original combinations based on your vision.
Color Coordination: Pay attention to floral color harmony, avoiding overly monotonous or chaotic schemes. Employ techniques like color gradients or contrasting hues to achieve rich visual effects.
Layering: Incorporate flowers of varying sizes and shapes, interspersed with foliage, to enhance the floral wall's dimensionality and three-dimensional effect.

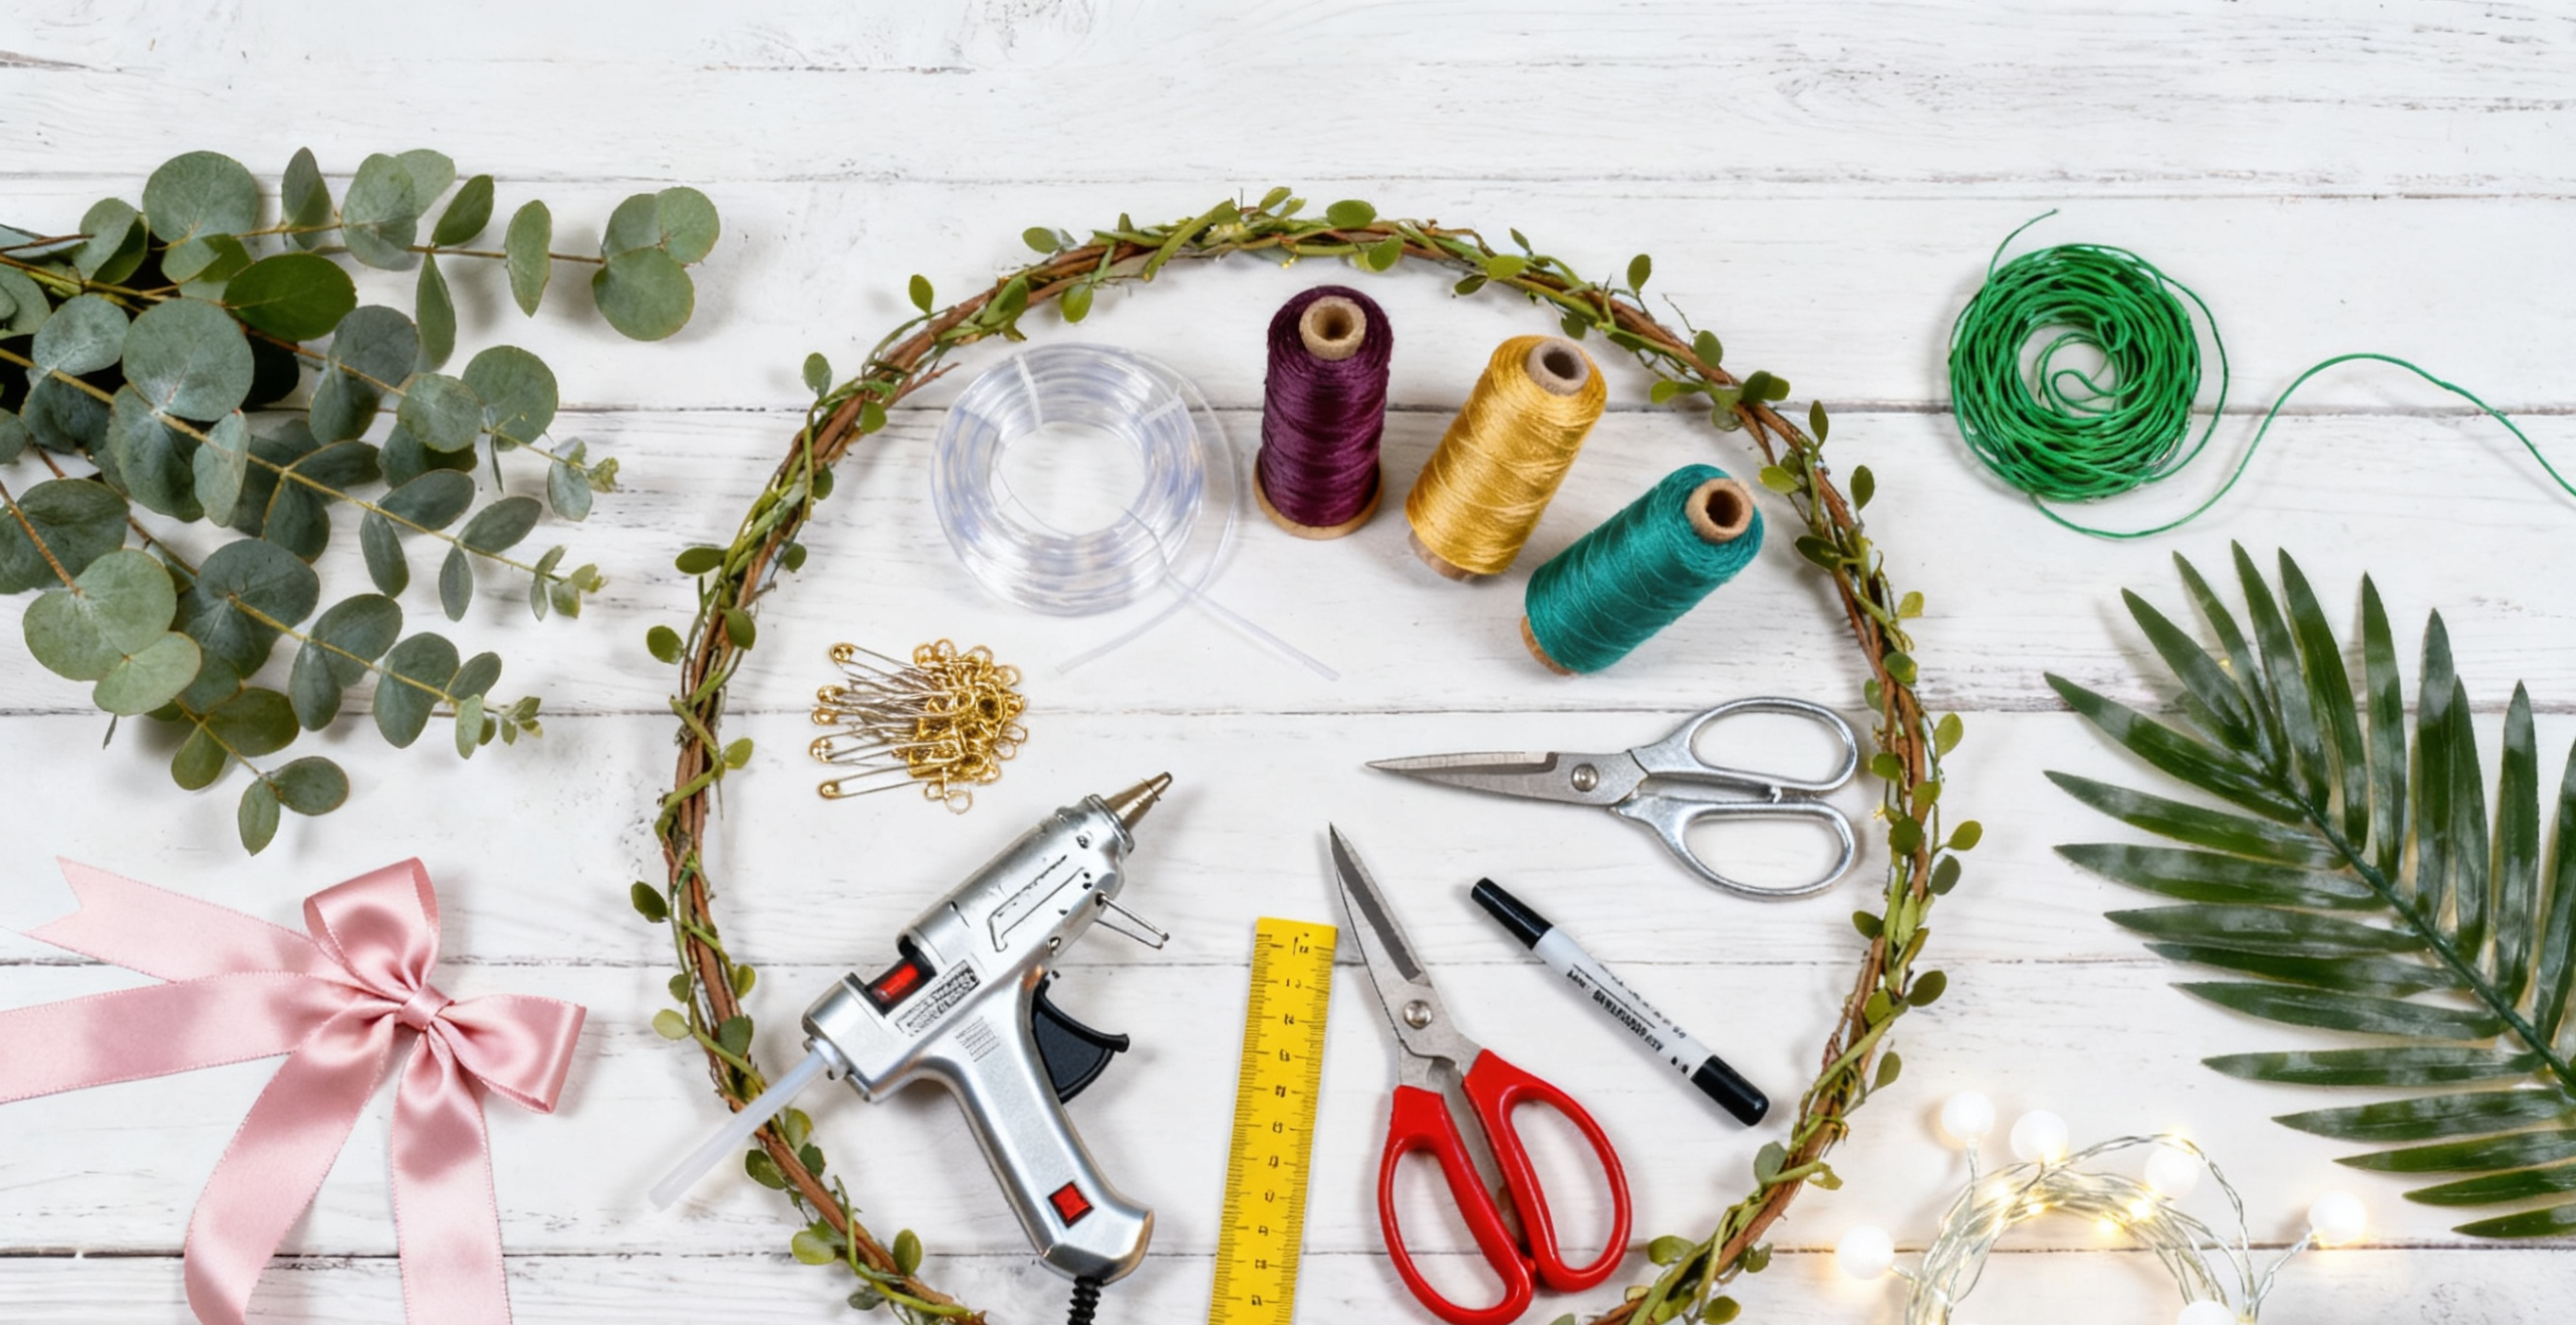
Securing Floral Materials:
Sewing Thread: Sew floral materials onto the fabric base using sewing thread. This method is quite secure but requires some sewing skill.
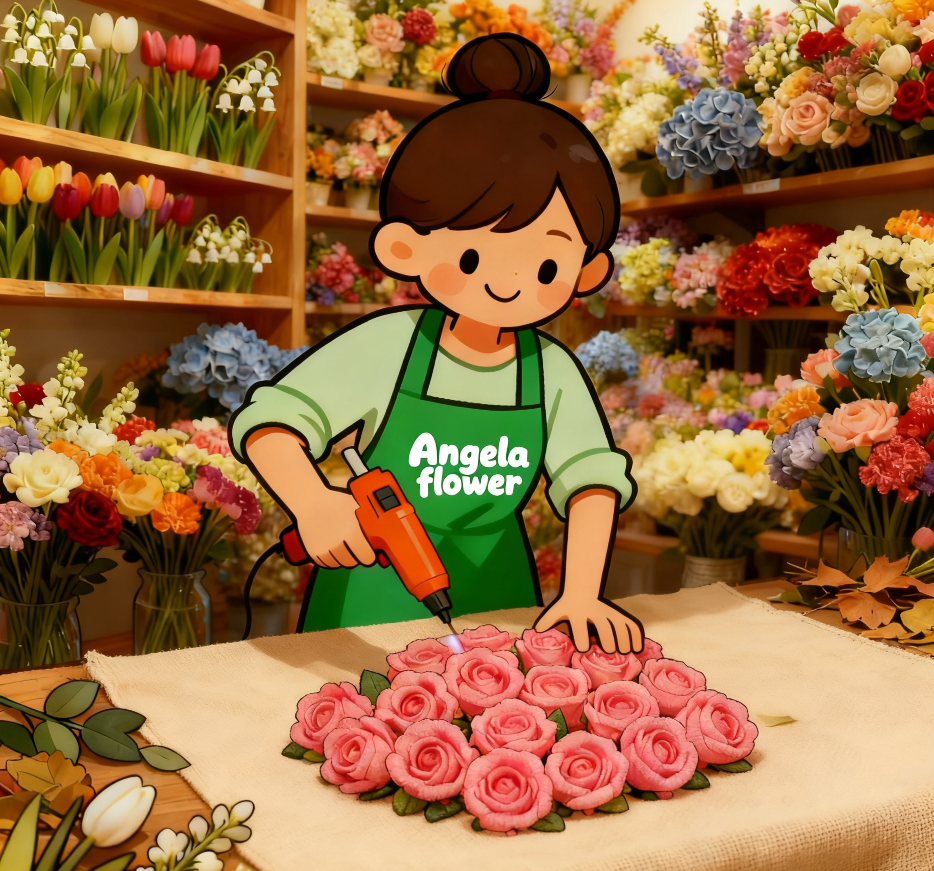
Hot Glue: After preheating the hot glue gun, apply sufficient glue to the back of the flower or the trimmed stem. Quickly press the flower onto the fabric surface and hold for several seconds to secure it. This method is simple and fast, but caution is needed to avoid burns.
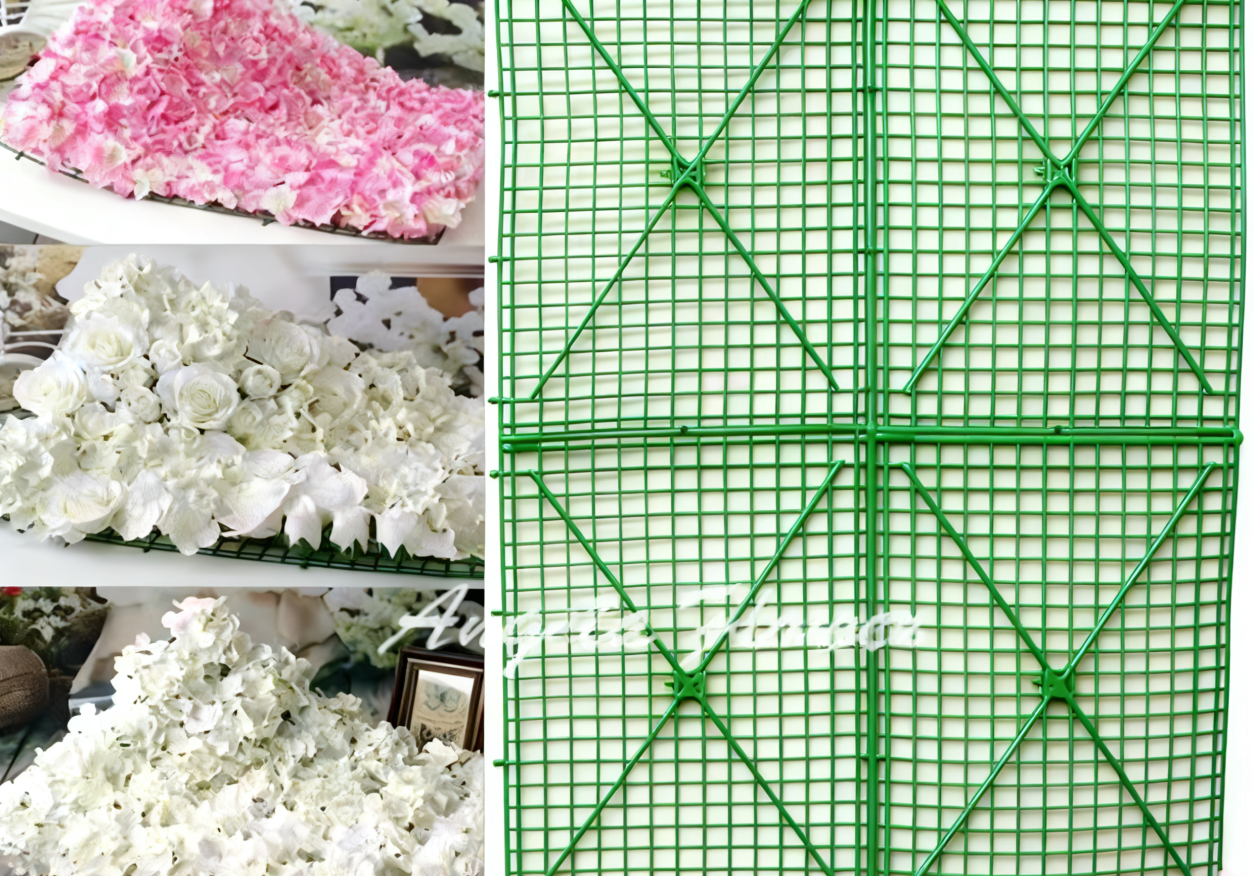
Plastic Mesh Base Flower Wall Construction:
Material: Typically choose plastic mesh, which is lightweight, durable, and resistant to deformation.
Size: Select an appropriate mesh size based on the dimensions of the flower wall you wish to create. Common mesh sizes include 30cm x 30cm and 40cm x 60cm.
Floral Arrangement Design: Similar to fabric-backed floral walls, design the floral layout on the grid before securing the flowers.
Securing Flowers: Zip Ties-Secure flowers to the grid using zip ties. This method is simple, quick, and provides strong hold. Hot Glue-Apply hot glue to adhere floral materials to the grid. This method is suitable for lighter floral materials.
Connecting Grids: Join individual grids together to form a complete floral wall.
Step 3: Core Creation—How to Make Artificial Flowers Look Real
Now your floral wall has taken shape. But if using artificial flowers, this final step is the soul that elevates it from “resembling real flowers” to “being real flowers.” This is precisely the essence of how to make fake flowers look authentic.
Here are 4 essential tips to instantly transform artificial flower walls into lifelike displays:
1. Hand-shape each bloom: After receiving the flowers, avoid arranging them immediately. Gently fold and twist each petal outward by hand, then bend the stems into natural curves to give every stem a unique posture.
2.Cleverly Use Foliage for Filling: Incorporate abundant artificial green leaves, vines, and ferns between flowers to effectively conceal plastic stems and gaps, creating a lush, natural ecological feel.

3.Infuse Color and Texture: Abandon uniform arrangements. Install flowers in clusters and groups, varying heights for a staggered effect. Experiment with mixing floral materials in the same color family but with different shades.
4. Lighting Techniques: Once construction is complete, don't forget to crown your creation with light. Opt for soft, natural lighting whenever possible. As light filters through layers of petals and leaves, it casts delicate shadows that instantly enhance transparency and dimensionality, bringing your floral wall to life with vibrant depth.